Showing posts with label wraps. Show all posts
Showing posts with label wraps. Show all posts
Tuesday, December 16, 2008
Bundleboo in a fashion show!!!
I just found this clip on YouTube by accident. We were vendors at this Expo in DC... I'm excited someone took a video of our carriers in this show:) And of course everyone else in the show :)


Monday, October 20, 2008
Wrapping Tips ~ how to get a snug back wrap
I have had a few requests on "how to" get a back wrap secure enough for a wiggly child. One suggestion that I've made is to snug the baby up first with a good chest belt...then finish the wrapping. But I agree with some of the feedback responses... "The chestbelt hurts my boobs!" So I've posted a solution to that problem as well :) I am not a tiny chested girl and so I've been loving this solution myself. Let me know what you think.
Thursday, October 9, 2008
New Bundleboo!!!
Here is your sneak peak of the new bundleboo design and print. Kicking toddler and attack cat, I was still able to get her up in under 1 minute..lol :)
Monday, October 6, 2008
Wednesday, October 1, 2008
Bundleboo Pics by Danielle
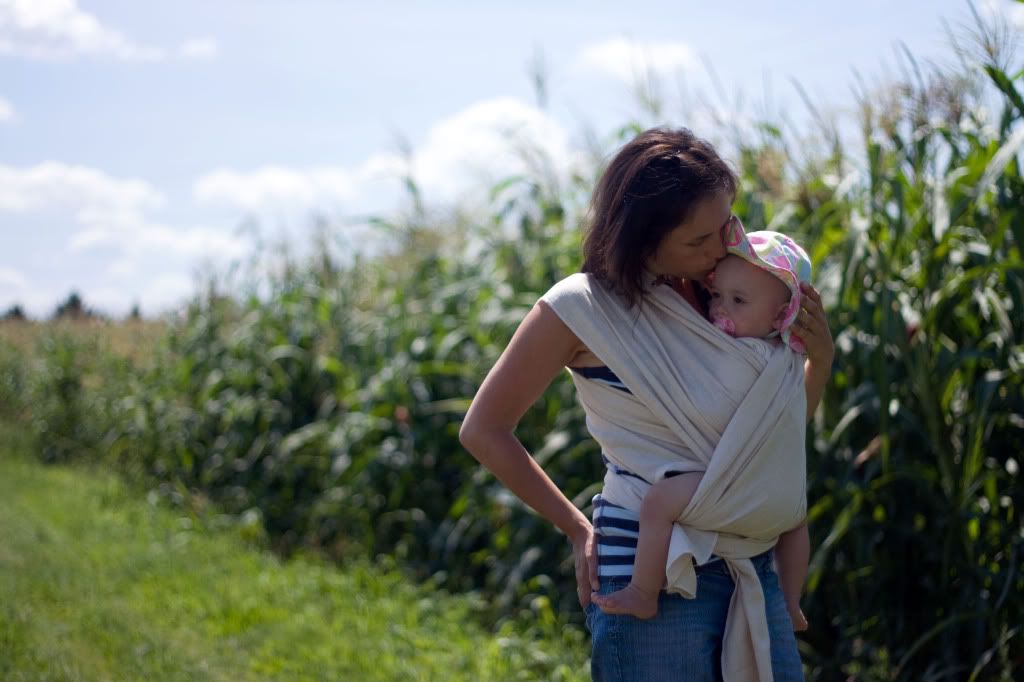
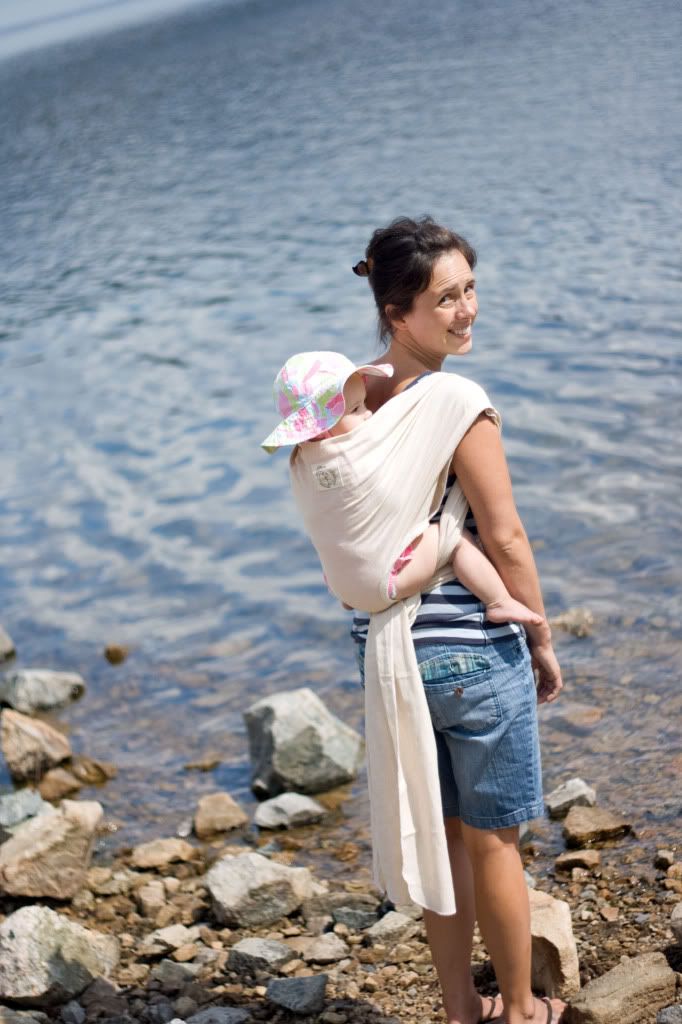
Mommy Danielle sent us some great photos of her beautiful baby girl in her Natural Classic Bundleboo. Danielle runs a blog space called "new mommy rant" where she reviews new parent products. We are grateful to Danielle for such positive words...and the pictures are so remarkable we will be using them in our new website...coming soon! Thank you Danielle!!!

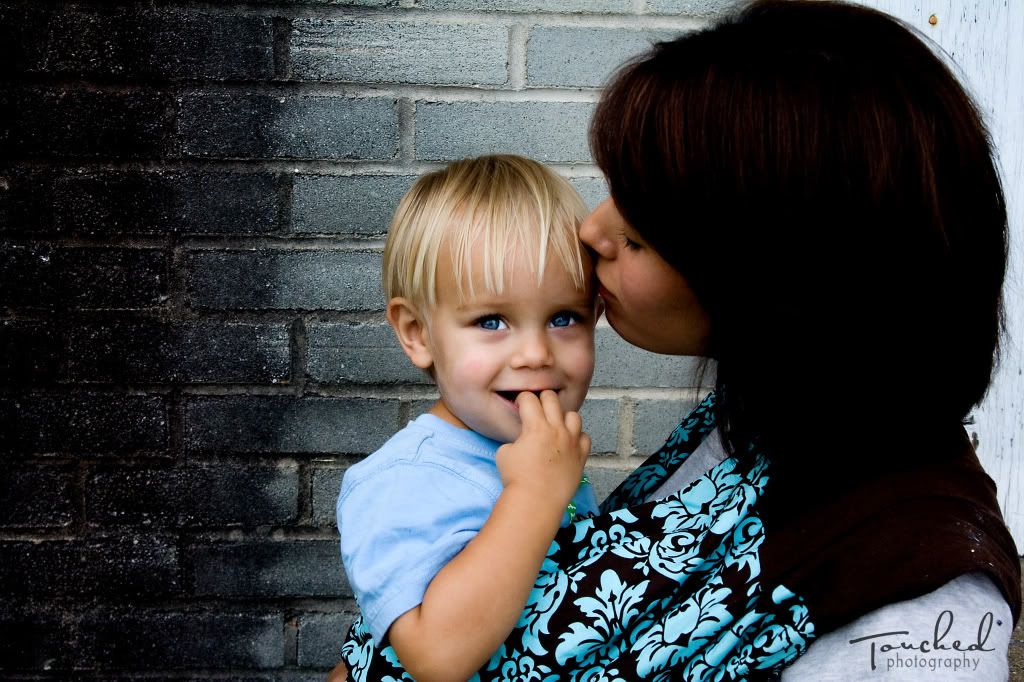
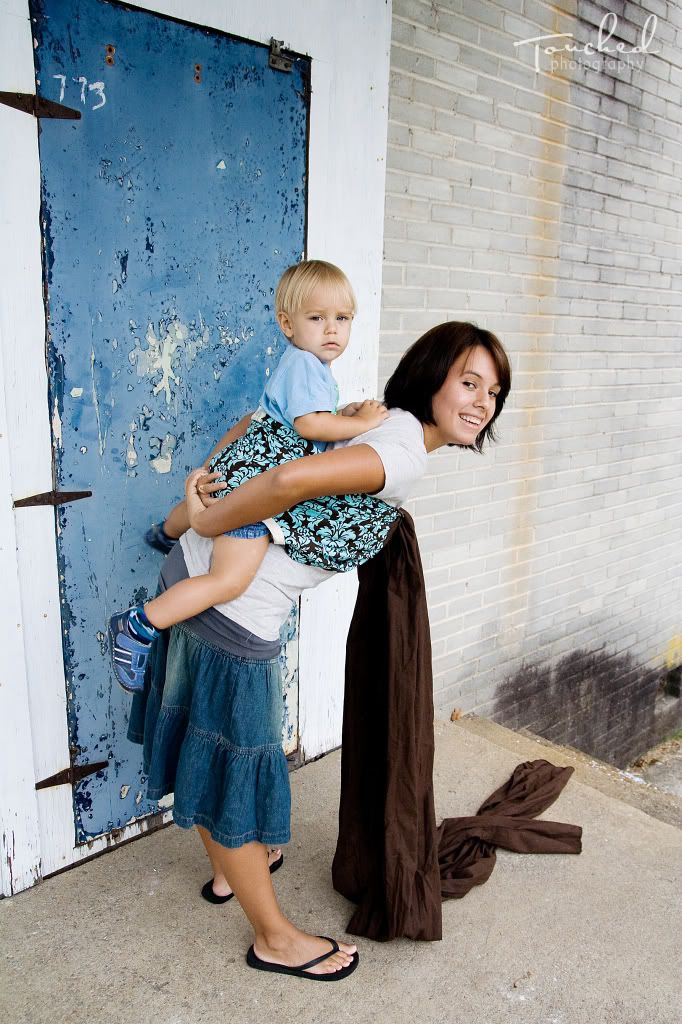
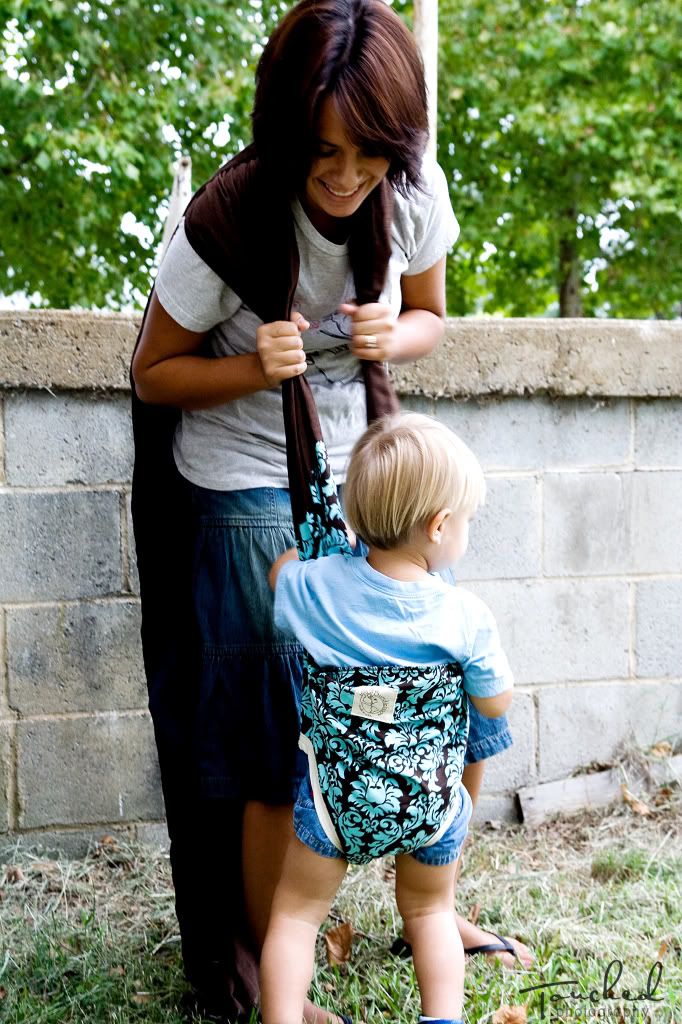
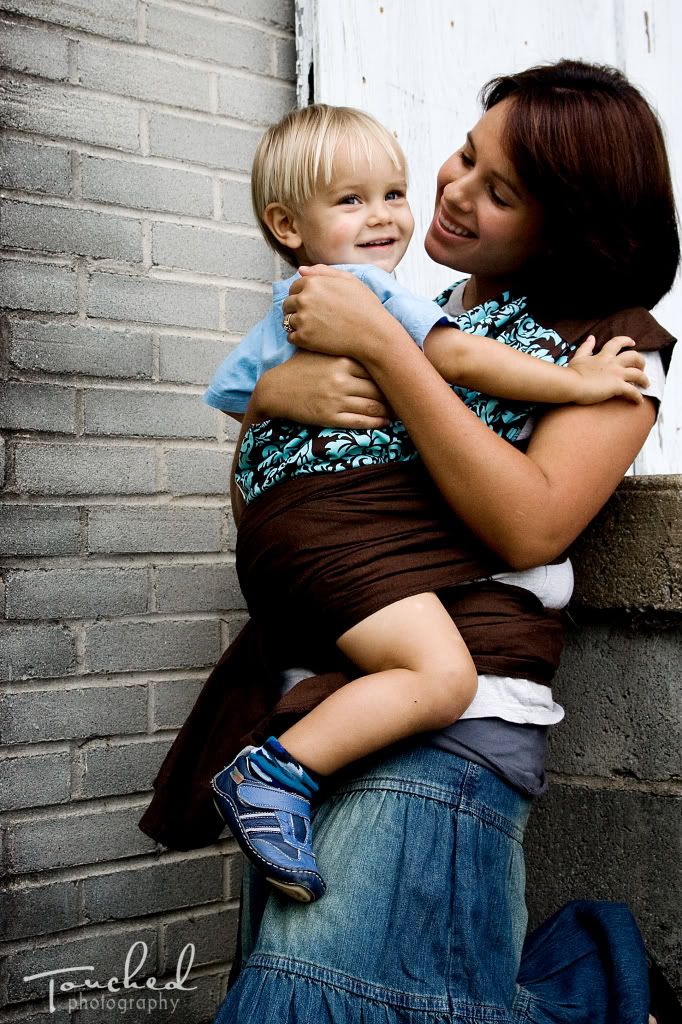
"Urban Edgy"
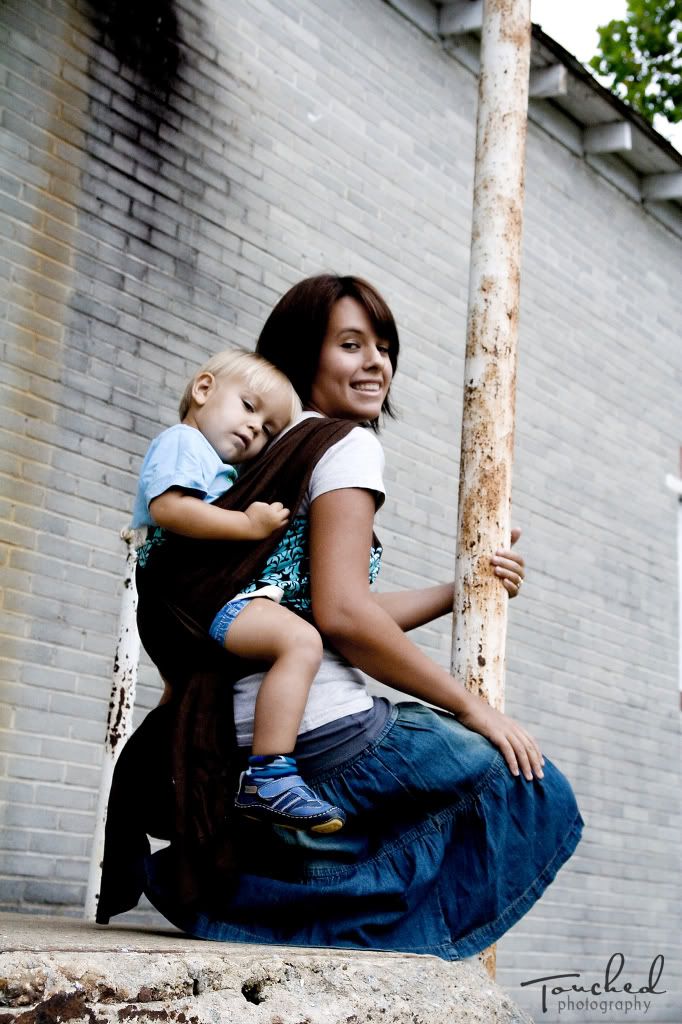 I am really thankful for Drea from touched photography for introducing me to the new image of Bundleboo. I have been struggling for the last 1.5 years on how exactly I want my product to come across on media and web. I sent her a Bundleboo sometime ago for review and then another to say thanks for her time. I love her work so much that I asked her to take a few shots of the Damask Bundleboo that I gifted her to see what she could do with it...sure enough she never ceases to amaze me with her talents.
Tuesday, September 30, 2008
DIY Signature Bundleboo
 So, I have heard of plenty of people on line and in the baby wearing forums requesting tips on how to make a Bundleboo. If you need a DVD and a label...let me know I will gladly send you one LOL:) First things first.
YOU WILL NEED: * 1 sewing machine and serger
* 5 yards of woven 100% cotton fabric (linen or linen type non-stretchy fabric is preferable)
*1 yard of coordinating print fabric for the center panel,
*1 package of cream colored "double fold bias tape" (found at your local fabric store)....or you can make your own bias tape.
*1 spool of cream colored "all purpose" sewing machine thread
* fabric scissors and pinning needles.
 STEP 1: cut or tear your 5 yard piece of fabric lengthwise down the middle creating two long narrow pieces of fabric measuring approx 22-24 inches wide and 5 yds long. Then take one of the pieces and fold it lengthwise and cut in half. Now you should have two 2.5 yard x 22inch pieces of fabric left over.
STEP 2: take your 1 yard piece of printed fabric (fold it so that the front and back are "correct side" print out. And surge the short sides of the print to the woven fabric.
 STEP 3: cut 4" diameter circles (leg holes) 6" apart and 3.5" from the bottom of the fabric. Then cut a slit from the circle to the bottom of the fabric (this will make applying the bias easier) I have been saving my bundleboo circles for something special.... I don't know what yet. I am thinking funky breast pads or something. What would you use your leg circles for?

STEP 4: Give your sewing machine a good pep talk about how you don't feel like using the seam ripper today... and get ready to sew. (works for me sometimes :)
STEP 5: apply your bias using a straight or zigzag stitch. I used a straight stitch in this picture. Then I go back for a second straight stitch to re-enforce the leg hole.
STEP 6: Now, I didn't get a good picture of this so I will try my best to describe as clearly as possible.
 Find out what side is the "inside" of your bundleboo by finding the side with the surging showing. So, connect the bias and the vertical slit so that they line up and run it thru the serger.(this is what it would look like connected)
  STEP 7: strengthen ALL of your surged seams by using a straight stitch to tack down the surging lip. (is it called a lip? I dunno it sounds good..lol)
STEP 8: If you have a Bundleboo label ... sew it on where you would like to have it. I usually sew it someplace in the center top of the print fabric panel. If you don't want it to clutter up your gorgeous fabric... you can put it on one of the side panel ends.
FINAL STEP: Surge the entire outer length of your Bundleboo finish the fabric and keep it from fraying. You can round the corners or leave them squared off. Its up to you :)
Cut all of the loose strings and voila you have your own DIY Signature Bundleboo. I am hoping the owner of this Bundleboo might send better action pictures. I couldn't do better this time...my kids were asleep and I didn't have pants on...LOL:)
 (These instructions are for personal/individual use only and not for resale...thank you!)
Sunday, September 28, 2008
Momvolution and Carriers
 I have officially joined the obsessed world of blogging! My life as a wife, SAH mother, friend and business owner is full of daily adventures, trials and interesting "momvolution" (my new term for mom evolution :). Balancing all of my responsibilities is my biggest challenge...however without the mass amount of insanity I fear that my life would feel dull and meaningless. I have inert desire to give as much of myself as possible.
Andy...the big man to the left is my husband and my best friend. My momvolution has taken its toll on him at times, as he is not a big fan of change. I believe he trusts my instincts and is supportive of my all good intentions...although I don't think that he understands most of them.
Max and Katy-Ro are my two oldest children. Max is 4 and Katy is almost 3. I did breastfeed, babywear and co-sleep with both of them. Of course as a new mommy I took much advise from those who were experienced around me. Which meant initially I had to give into consumerism and "product parenting". I had everything from bouncy seats, strollers, pack and play, exersaucers, floor gyms, jumpers...(wow, looking back now...it seems that the product parenting market was doing as much as they could to keep me from carrying my children.) I will say that thankfully instincts kicked in at some point and thus the momvolution began. (really should say slingvolution)
.JPG)
 I owned a baby bijorn with Max and he shortly grew out it... I believe that If I had not followed my instincts to continue carrying him, Max would have been a stroller baby. I continued to breastfeed Max well into a year and then just past...despite the gawks and comments about how he should be on a bottle by now. I found a sling that worked for me the maya wrap was wonderful and enabled me to nurse in public. I was a working mother (EMT-CT) until Katy was born. After being on bed rest and receiving the news that she would need surgery shortly after birth...I then decided to stay at home to care for my kids. That's when the momvolution really began to take place.
 I wanted to find an even better carrier to support a breastfeeding cleft affected infant while chasing after a toddler. (pheuf) ... after searching online I found out about ellaroo wrap carriers. With a little practice I quickly found confidence wearing it, and my "wrap carrier" became an essential part of daily living.
 Wraps really brought the crunchy mama out of me...LOL. The public certianly had many comments about my "piece of fabric" carrier. Many concerns prompted a change. Thus my business making Bundleboo wrap carriers was born. Babywearing has not just been something fun to do with my kids...it truely has become a strong evolution of parenting. IMO babywearing has been the key ingredient to the rest of my attachment parenting practices. Since the birth of our third child Lucy this past May 2008, I have also enforced a "whole living" structure in our family life and daily routine. To include eating whole or Organic Foods, cloth diapering, EC (elimination communication), attachment parenting incorporating positive discipline/conscious parenting techniques and using Alternative (natural) remedies as a first line choice for prophylaxis or treatment. I am excited to publish this blog, in hopes to reach other like minded moms.
HAVE YOU HAD YOUR PROFOUND MOMVOLUTION YET?
Subscribe to:
Posts (Atom)


 Posts
Posts


